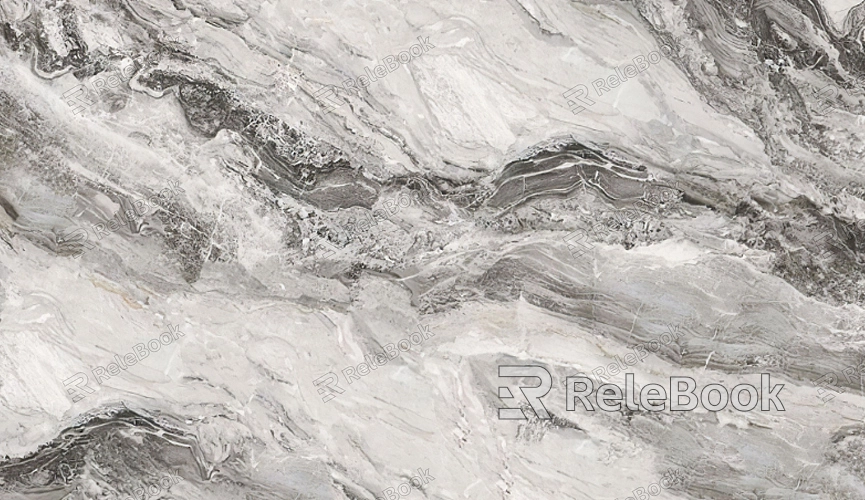
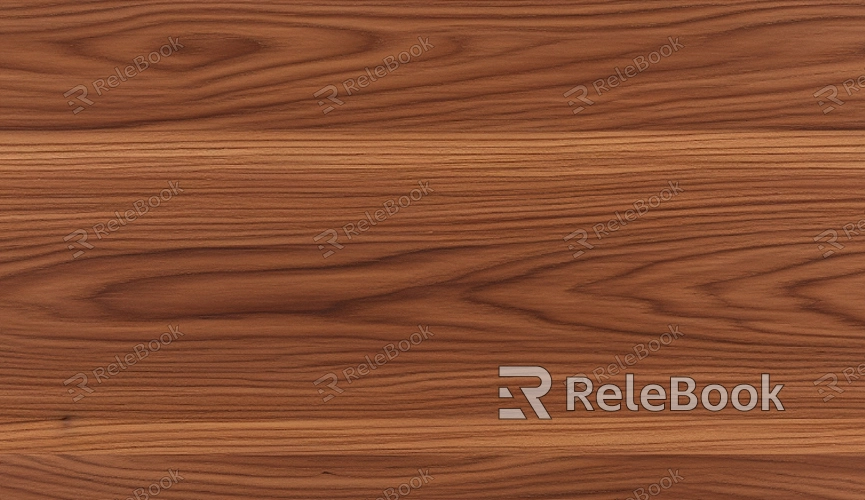
How to Mix 3D Texture Packs with Another?

Understanding Texture Packs
Before diving into the mixing process, it's essential to grasp what texture packs are and how they function. A texture pack consists of a collection of image files, often including diffuse, bump, normal, and specular maps. These textures are applied to 3D models to simulate surface details and material properties. Each texture pack has its style, resolution, and set of textures, making them distinct in their visual output.
When mixing texture packs, you're essentially combining different sets of surface details to achieve a hybrid look. This requires a good understanding of each pack's characteristics and how they interact with each other. By knowing what each pack offers, you can make more informed decisions about which textures to blend and how to apply them.
Planning Your Mix
The first step in mixing texture packs is to plan your approach. Consider the overall aesthetic you want to achieve and how the different packs will complement each other. Start by evaluating the textures from each pack, noting their style, color palette, and intended use.
Create a mood board or reference sheet that outlines the textures you plan to use and how they will be combined. This helps in visualizing the final result and ensures that the textures will work harmoniously. Planning also involves deciding which texture maps (diffuse, bump, normal, specular) will be combined and how they will be layered.

Preparing Your Textures
Once you have a plan in place, the next step is to prepare your textures for mixing. This involves several key tasks:
1. Adjusting Texture Resolutions
Ensure that the textures from different packs have compatible resolutions. If one pack has higher-resolution textures than another, you may need to resize or downscale the higher-resolution textures to match the lower ones. This avoids visual inconsistencies and ensures that the textures blend smoothly.
2. Color Correction
Different texture packs may have varying color schemes. To achieve a cohesive look, you might need to adjust the colors of the textures. Use image editing software to tweak the hue, saturation, and brightness of the textures to match or complement each other.
3. Removing Unwanted Elements
Sometimes, texture packs include elements that you don’t need. For example, you might want to remove specific patterns or details that don’t fit your design. Use masking and editing tools to isolate and eliminate these elements.
Blending Textures
With your textures prepared, the next step is to blend them. This process involves applying multiple textures to the same 3D model in a way that they interact seamlessly. Here are some techniques to achieve this:
1. Layering Textures
Use layering techniques in your 3D software to combine different textures. This might involve applying one texture as a base layer and adding additional textures on top. You can adjust the opacity and blending modes of each layer to control how they interact.
2. Masking
Masks allow you to control where each texture appears on the model. Create masks that define specific areas where different textures should be applied. For example, you might use a mask to apply a rust texture only to metal parts of a model while keeping other areas clean.
3. Seamless Integration
Pay attention to seams where textures meet. Use blending brushes or gradient tools to smooth transitions between textures. This helps to avoid harsh lines and creates a more natural look.
Testing and Refining
After blending your textures, it’s crucial to test the results on your 3D model. View the model from different angles and under various lighting conditions to ensure that the textures look good in all scenarios. Make any necessary adjustments to refine the look and ensure that the textures align well with the model's geometry.
1. Lighting and Shadows
Check how the textures respond to different lighting setups. Sometimes, the way textures interact with light can reveal issues or areas that need improvement. Adjust the lighting and shadows to see how they affect the overall appearance.
2. Iterative Refinement
Don’t be afraid to go back and tweak your textures as needed. The process of mixing textures is often iterative, requiring adjustments and refinements to achieve the desired result.
FAQ
Can I mix texture packs from different sources?
Yes, you can mix texture packs from different sources. Just ensure that the textures are compatible in terms of resolution and style. Adjustments may be needed to make them work together seamlessly.
How do I handle texture packs with different color schemes?
To handle different color schemes, use image editing software to adjust the hue, saturation, and brightness of the textures. This helps to create a unified color palette that matches your desired aesthetic.
What software is best for mixing texture packs?
Popular software for mixing texture packs includes Adobe Photoshop for 2D texture editing and Blender or Autodesk Maya for 3D modeling and texture application. Choose software that best fits your workflow and needs.
How do I ensure textures blend seamlessly?
To ensure seamless blending, use layering, masking, and blending techniques. Pay attention to the transitions between textures and adjust them to avoid visible seams or harsh lines.
Can I mix textures of different types (e.g., diffuse with normal)?
Yes, you can mix different types of textures, but it’s important to understand how each type affects the model. For example, diffuse textures handle color, while normal maps affect surface detail. Make sure they complement each other in the final result.

